6 Steps to Building a Magical Pillow Fort
As we settle in to this chilly weather, my kids tend to get antsy from being cooped up day after day. So I try different activities around the house that will keep them busy without a ton of whining and screaming (helping with garbage duty didn’t go over so well).
One thing that DID go over well was the basic pillow fort! And it’s a great free activity to do on a weekend with some popcorn and a movie.
Here are some tips to build the best pillow fort ever!
- Gather Supplies. We go around the house getting all different types of pillows, blankets and even sheets! I’ve found that fitted sheets actually help a lot, especially if you’re going to be using the back of your couch as one of the walls of the fort. And depending on where we set up, we’ll pull some chairs or stools to our area as well. Some of my favorite pillows are super soft, yet sturdy!
- Find the perfect spot. First you want to make sure that the base of the fort is on a comfy surface like a soft rug or carpet. I try to avoid tile and hardwood. Once you’ve found that, take a few comforters or heavier blankets and lay them down for an extra-soft surface.
- Start building! Use the back of the couch as your main wall with chairs or stools on either side. Then use the fitted sheet to create a roof. You can also use thumbtacks to pin your sheet to the walls if you need to!
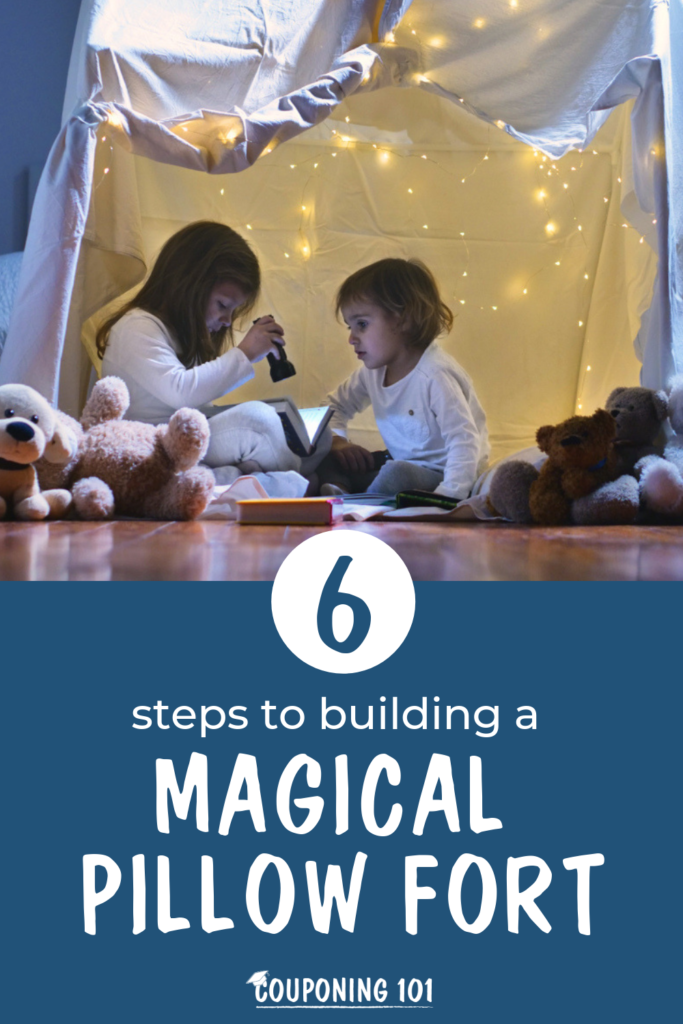
- Decorate. This is an often missed step. Just because it’s something that probably won’t last for more than a couple of hours (if that), it’s still fun to make the space uniquely yours. I like using fairy lights like these to string up and make the space twinkle (whether it’s 11am or 5pm).
- Stock up the fort. What kid is going to sit in their own space without entertainment and snacks?! I like this stackable train since it’s good for a wide range of kids and classic Jenga (which is great for ALL ages!). For snacks, they shouldn’t be too messy since you won’t want to come in and out of your fort to wash hands. I like to bring in popcorn, fruit snacks and crackers (with napkins of course!).
- Play! Now that you’ve set up your fort, you can all relax in it together. Whether it’s watching a classic like Mr. Roger’s Neighborhood or reading Harry Potter as family, it’s great quality time together.
One thing to remember: let the kids take the lead on how they want to build their fort and what they want in it. As much as my OCD flared up, it’s much more fun for them to decide on how their fort is built and what’s in it. It gets their creative juices flowing, and depending on their age, it MAY get you a few moments to yourself!
What ways do you like making forts? Let me know in the comments below!
Amazon prices are subject to change without notice, so be sure to verify the final price at checkout.
Sign up for a free trial of Amazon Prime and get free 2-day shipping on your order.
This post contains affiliate links, which help support this site at no extra cost to you. Please read our disclosure policy here.